How to Connect Your Domain to Instago.ai
If your domain is registered with another provider (like GoDaddy, Namecheap, Hostinger, etc.), you can connect it to Instago.ai by updating your DNS records.
Step 1: Log in to Your Domain Registrar
Go to the website where you purchased your domain.
Log in to your account.
Find the section for Domain Management or DNS Settings.
Step 2: Locate DNS Records
Look for DNS Records or Manage Zone Records. This is where you can add or edit your domain’s records such as A, AAAA, and CNAME.
Step 3: Add or Edit Your Records
You will need to add the following records to point your domain to Instago.ai:
A Record (IPv4)
Name/Host/Alias: @ (or leave empty)
Value/Destination: 15.204.232.177
Type: A
TTL: 3600 (or default)
AAAA Record (IPv6)
Name/Host/Alias: @ (or leave empty)
Value/Destination: 2604:2dc0:101:200::1475
Type: AAAA
TTL: 3600 (or default)
CNAME Record (for www)
Name/Host/Alias: www
Value/Destination: @ (or yourdomain.com)
Type: CNAME
TTL: 3600 (or default)
Step 4: Save Your Changes
After adding the records, click Save. Make sure that you only have one A record and one AAAA record for the root domain (@) to avoid conflicts.
Step 5: Wait for DNS Propagation
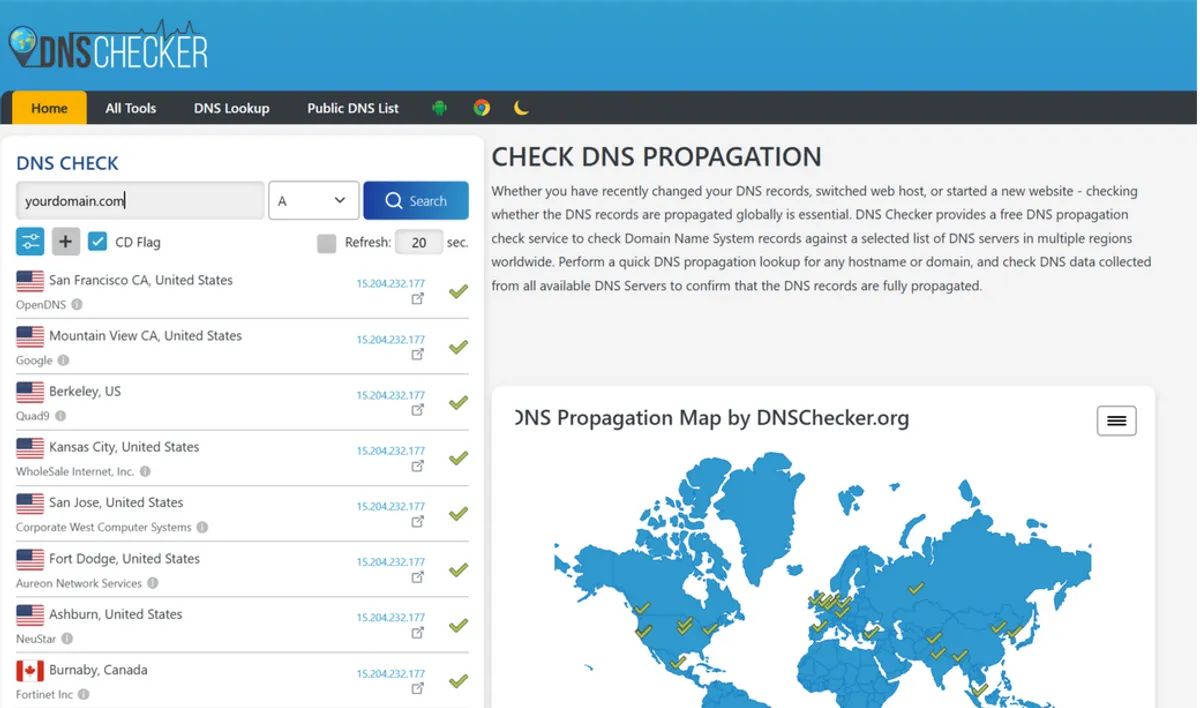
DNS changes can take up to 24–72 hours to fully update worldwide, but usually update within a few hours, TTL value states how many seconds it takes (3600 = 60 min). You can check progress at DNS Checker: https://dnschecker.org/
Step 6: Add your domain to Instago.ai
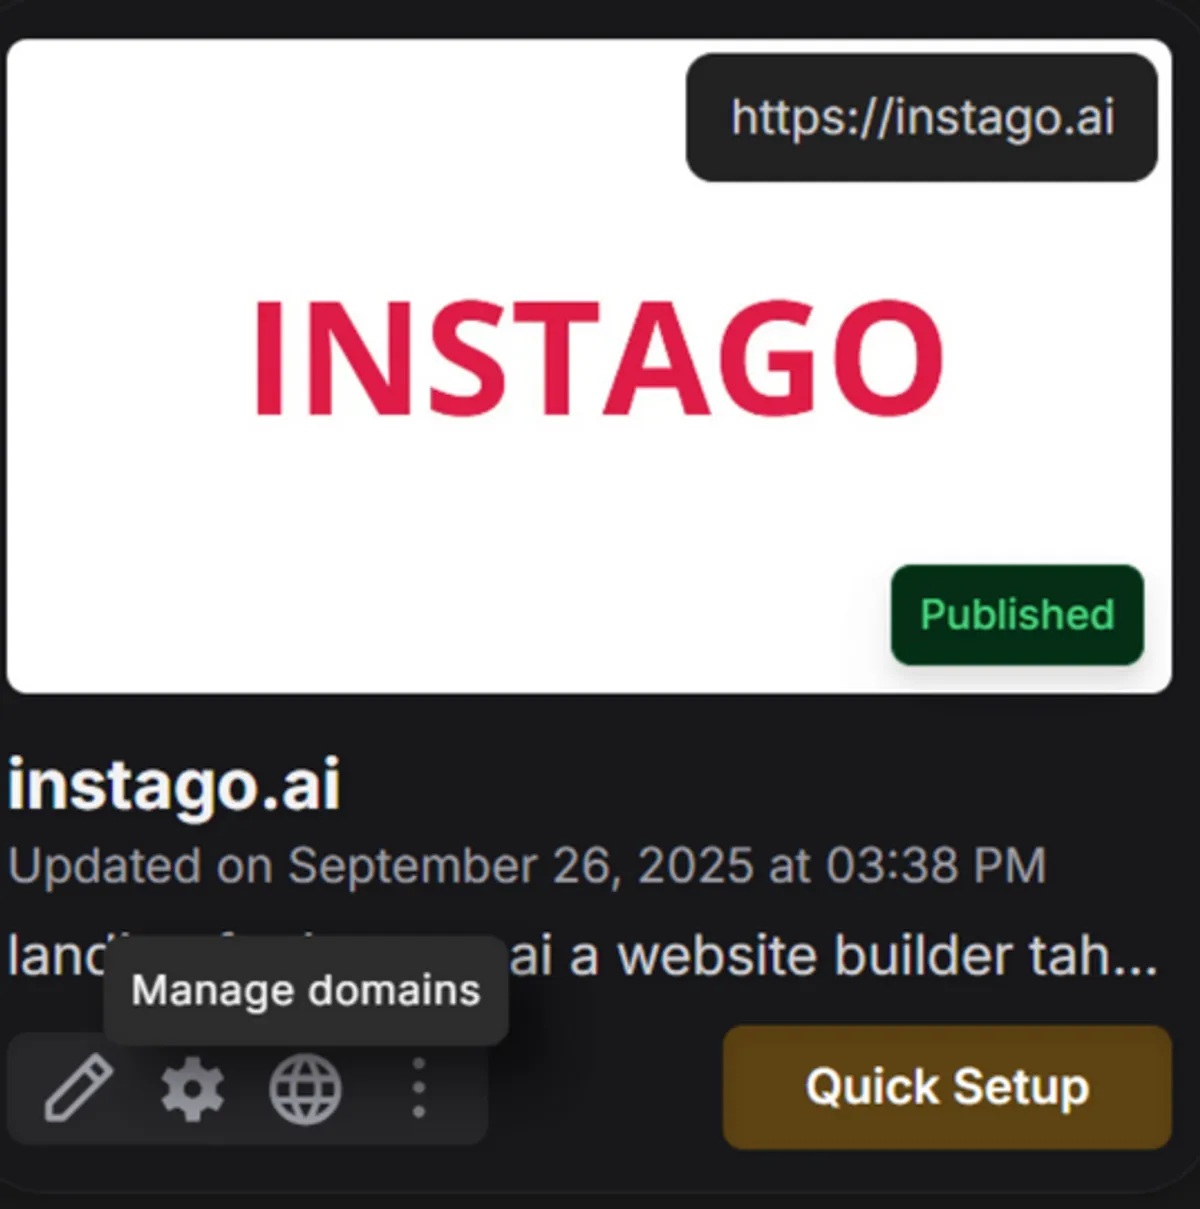
Go to your project dashboard, click Manage Domain,
Go to the Attach Your Domain section.
Enter your domain (e.g., yourdomain.com, not www.yourdomain.com).
Click Attach.

Go to my https://dnschecker.org/ and type your domain name to check that your DNS is set up correctly and points to our server.
Below some an example of correct output.